By Chris — Sat, 15 Dec 2018
About seven months ago I saw an article on the ABC website about a QLD community group who had put together plans to make a 3D printer from E-waste. I had considered trying to find plans to build my own in the past but never really got far with it, this time I had a point of reference.
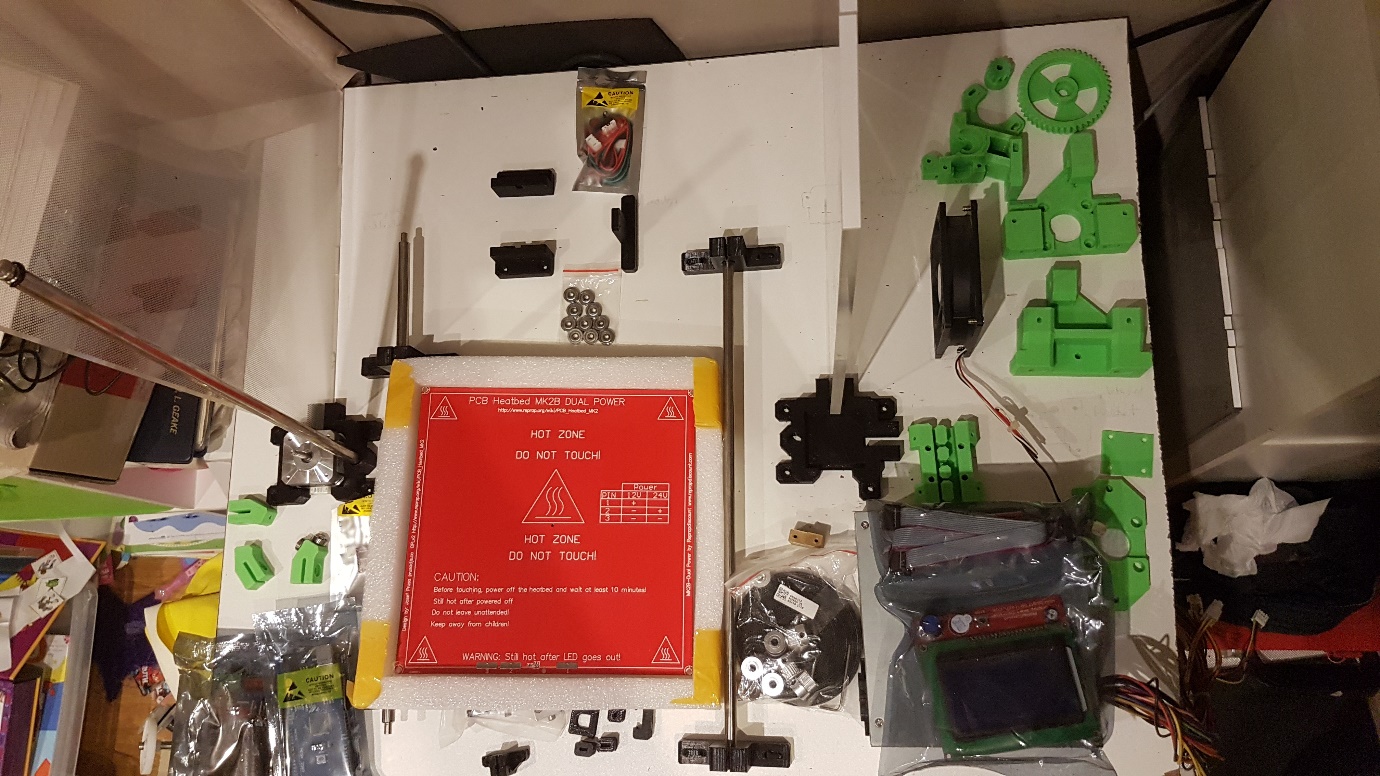
The plans were found on Thingiverse (a site I was later to discover was the essential go-to for 3D printing plans and ideas), so after browsing the instructions (see here), I figured I was up to the challenge... but there was one big problem. To make my 3D printer, I needed parts 3D printed. Whilst there are a number of online sites that you can order prints from, I had learnt about maker/hackerspaces and found that there was one not more than about five minutes from home.
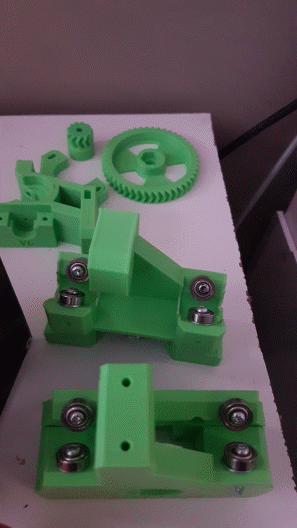
My initial contact was simply finding out if they had a service whereby they could print my parts for a fee and I'd come and pick them up, but I soon learnt that it would probably be better to go in and have a look at the space myself. After some initial nerves (I'm generally pretty shy by nature)... I got myself to Ballarat Hackerspace and was greeted by Firnsy who after asking what I was hoping to do, showed me the 3D printers and guided me through my first print... Bitsabot was underway (called Bitsabot because the parts ended up being printed in different colours, so it's a Bit of that, a Bit of this etc.).
 The importance of actually going to the Hackerspace became more and more apparent as the project continued as it wasn't just the parts that I was accruing, it was a broad knowledge base. Through going in just about every week to print more parts, I was getting more comfortable with the process of preparing a model for printing, setting up a printer and monitoring the print (ok that last part is more me being mesmerised watching the printer do its work... but it can be quite hypnotic).
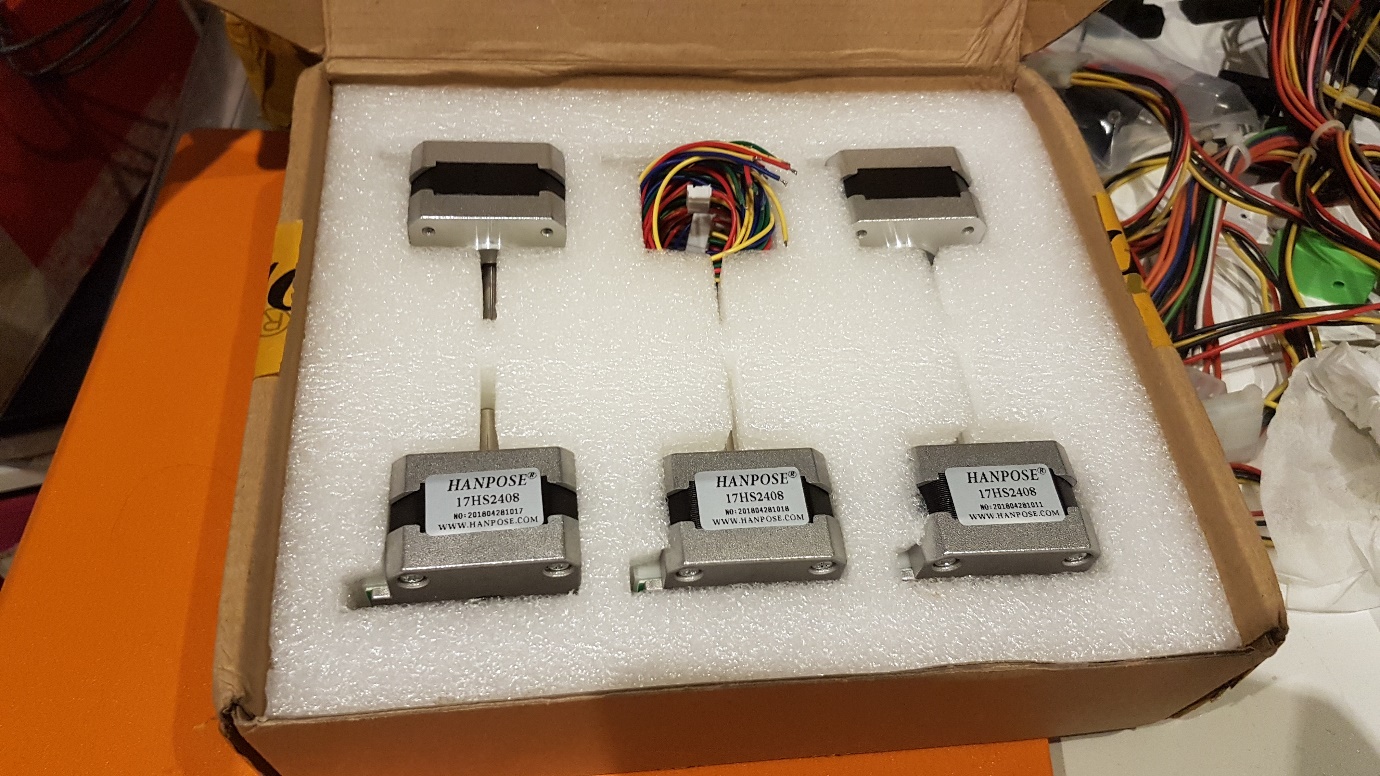
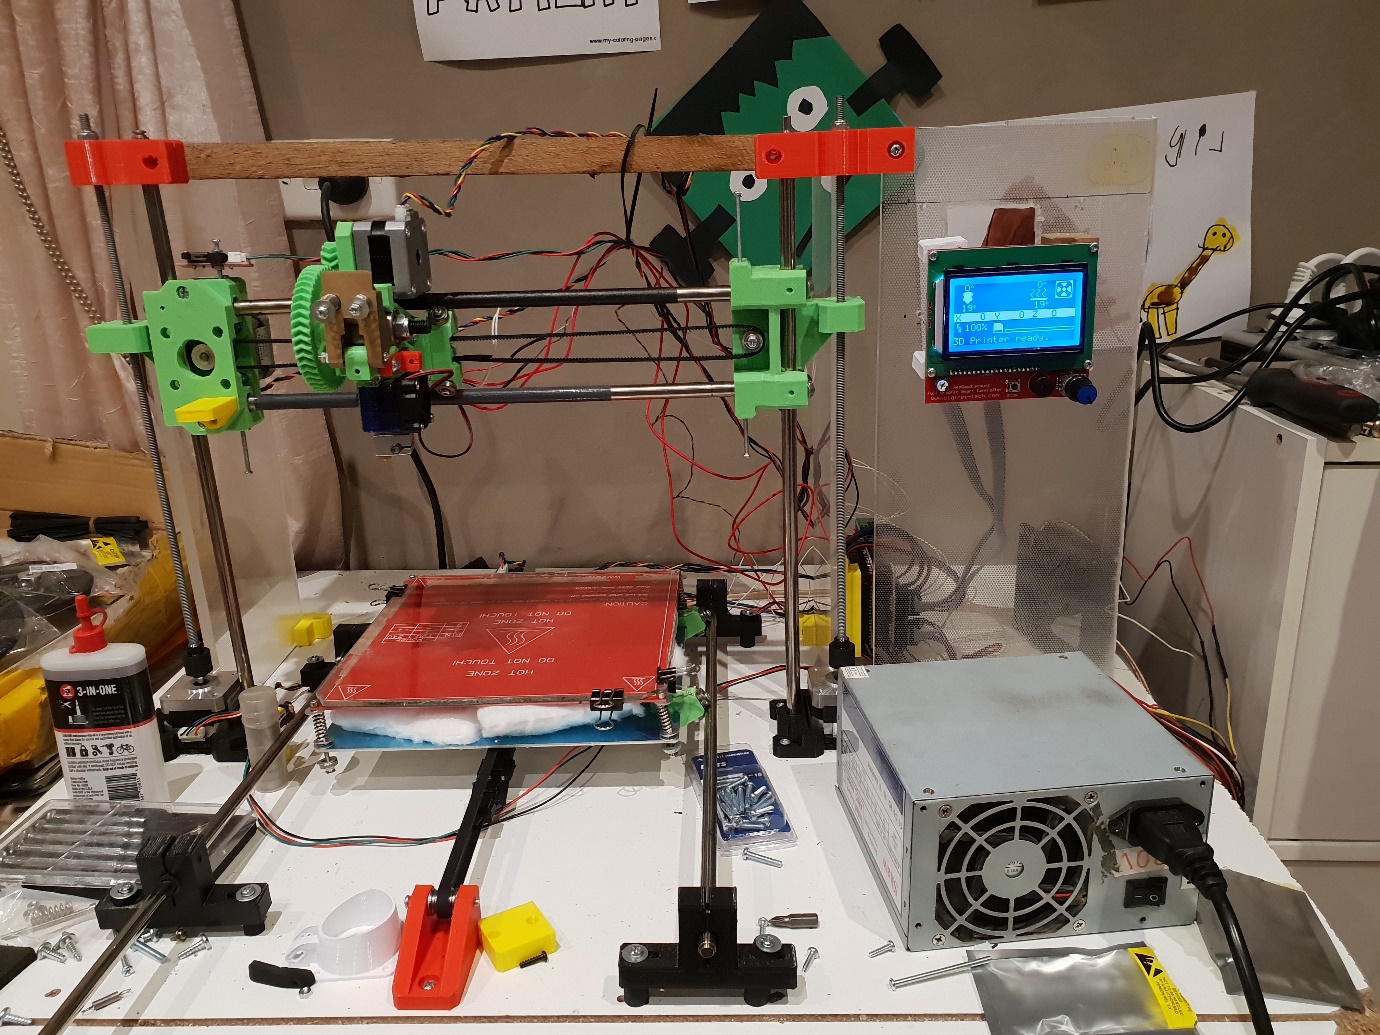
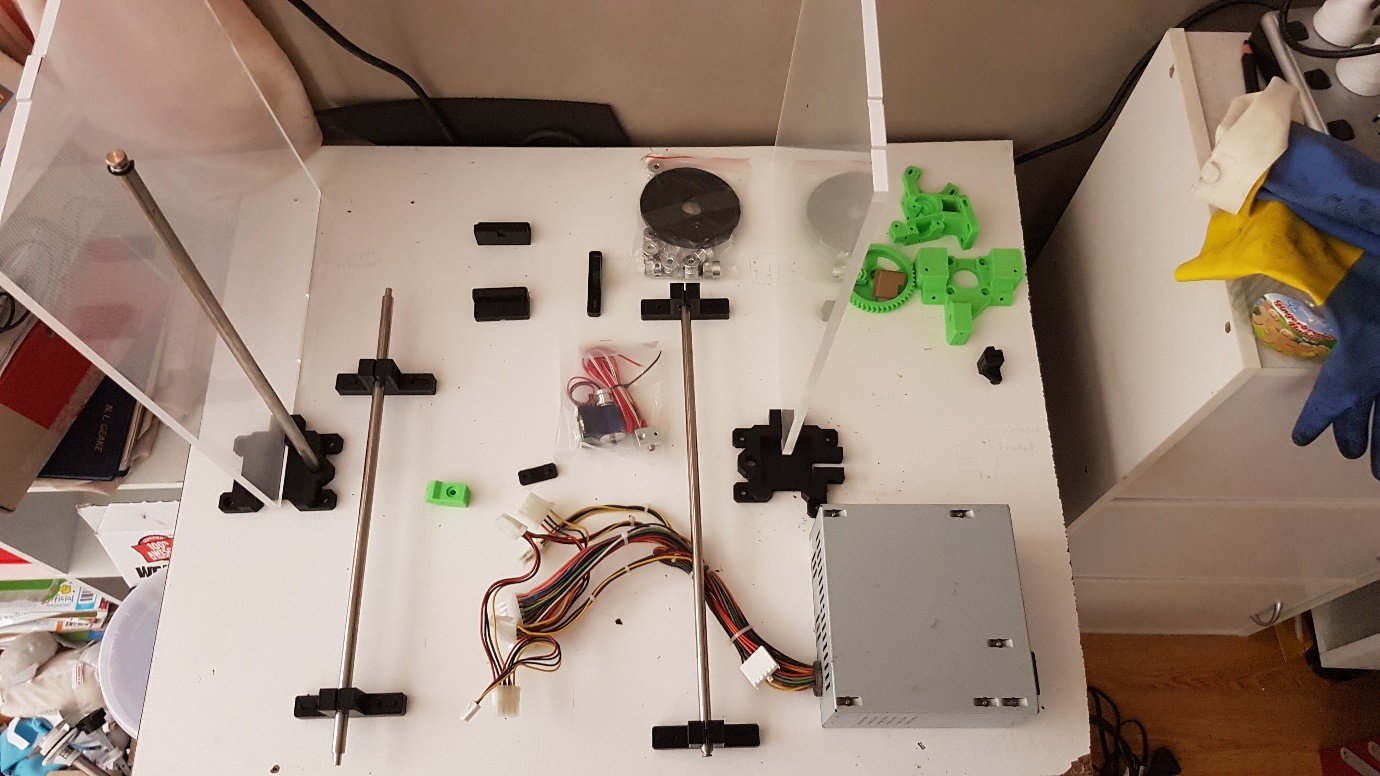
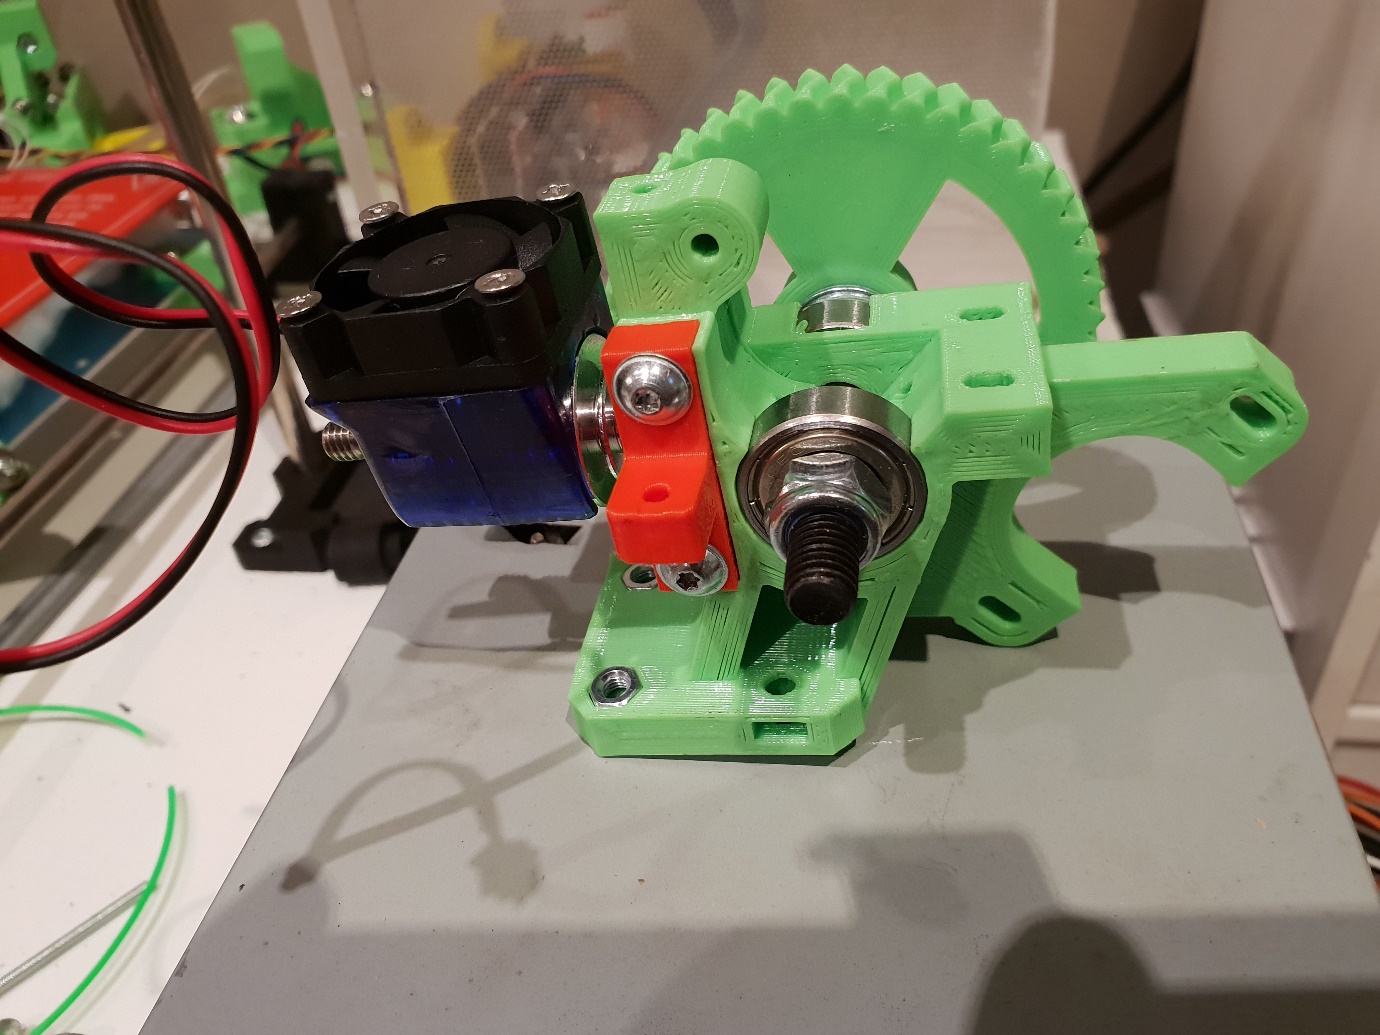
While I was amassing my printed parts, I had started ordering some of the other essential components and gather standard home printers to tear down to recover parts from. My initial plan was to gather all the pieces together and then document the whole process from start to finish... unfortunately I became impatient and too excited to get the project started and so I jumped into putting the frame together before I had the last few pieces ready to install.
After about six months (I could have had thing together sooner but my time at the hackerspace was limited due to being a full-time carer and parent of four children... this enabled me to space out the purchase of components which did help soften the blow of the total cost... which was somewhere around $250 or so), I had the printer together... but now I had to get it working.
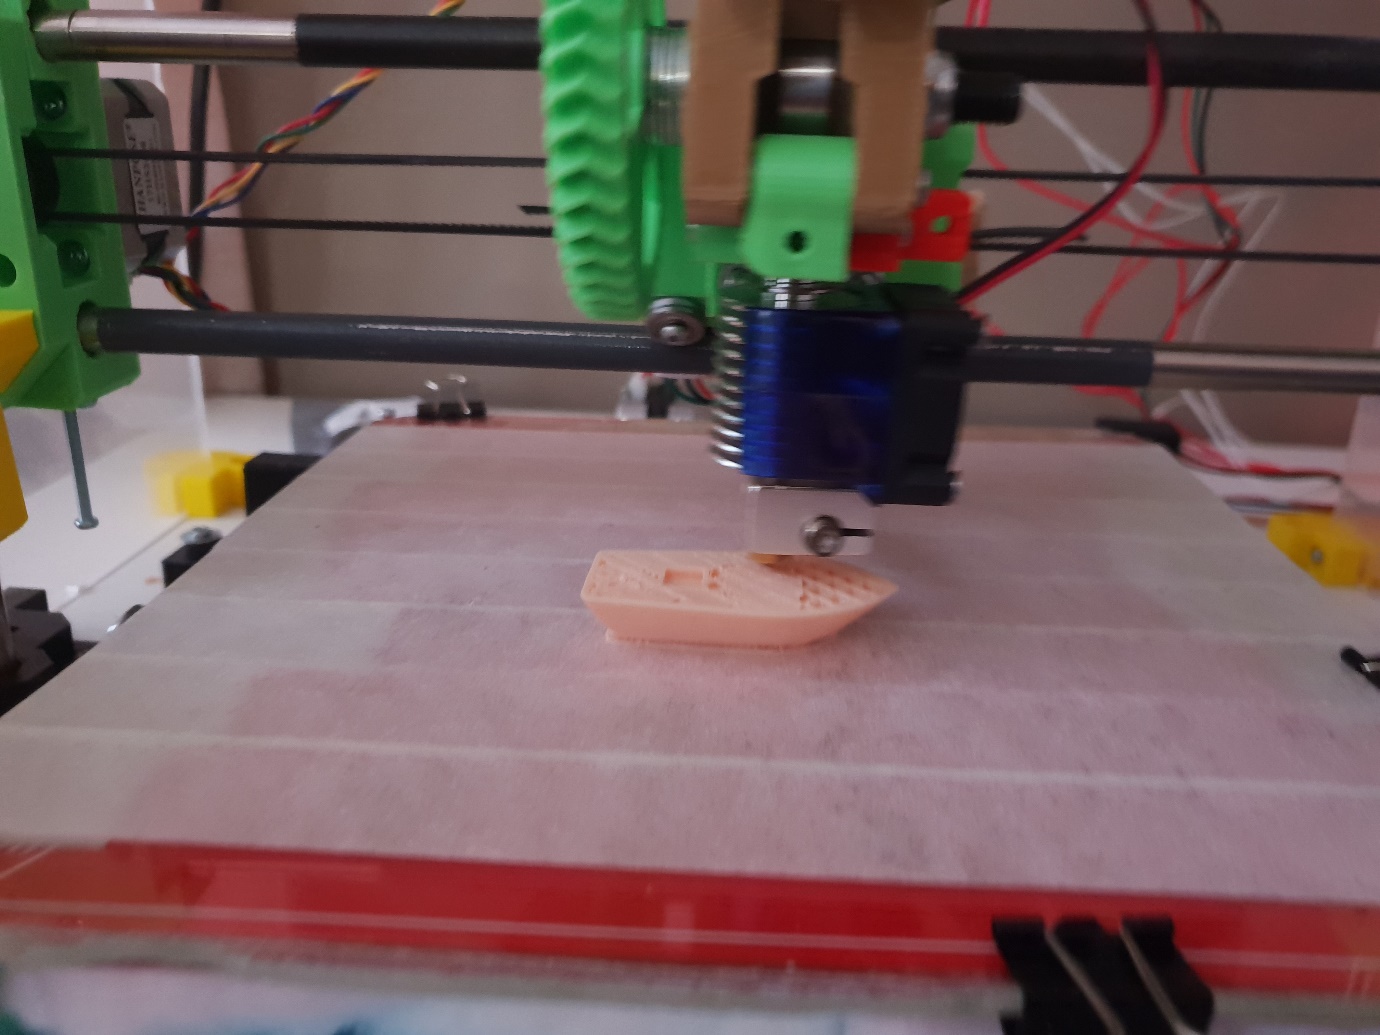
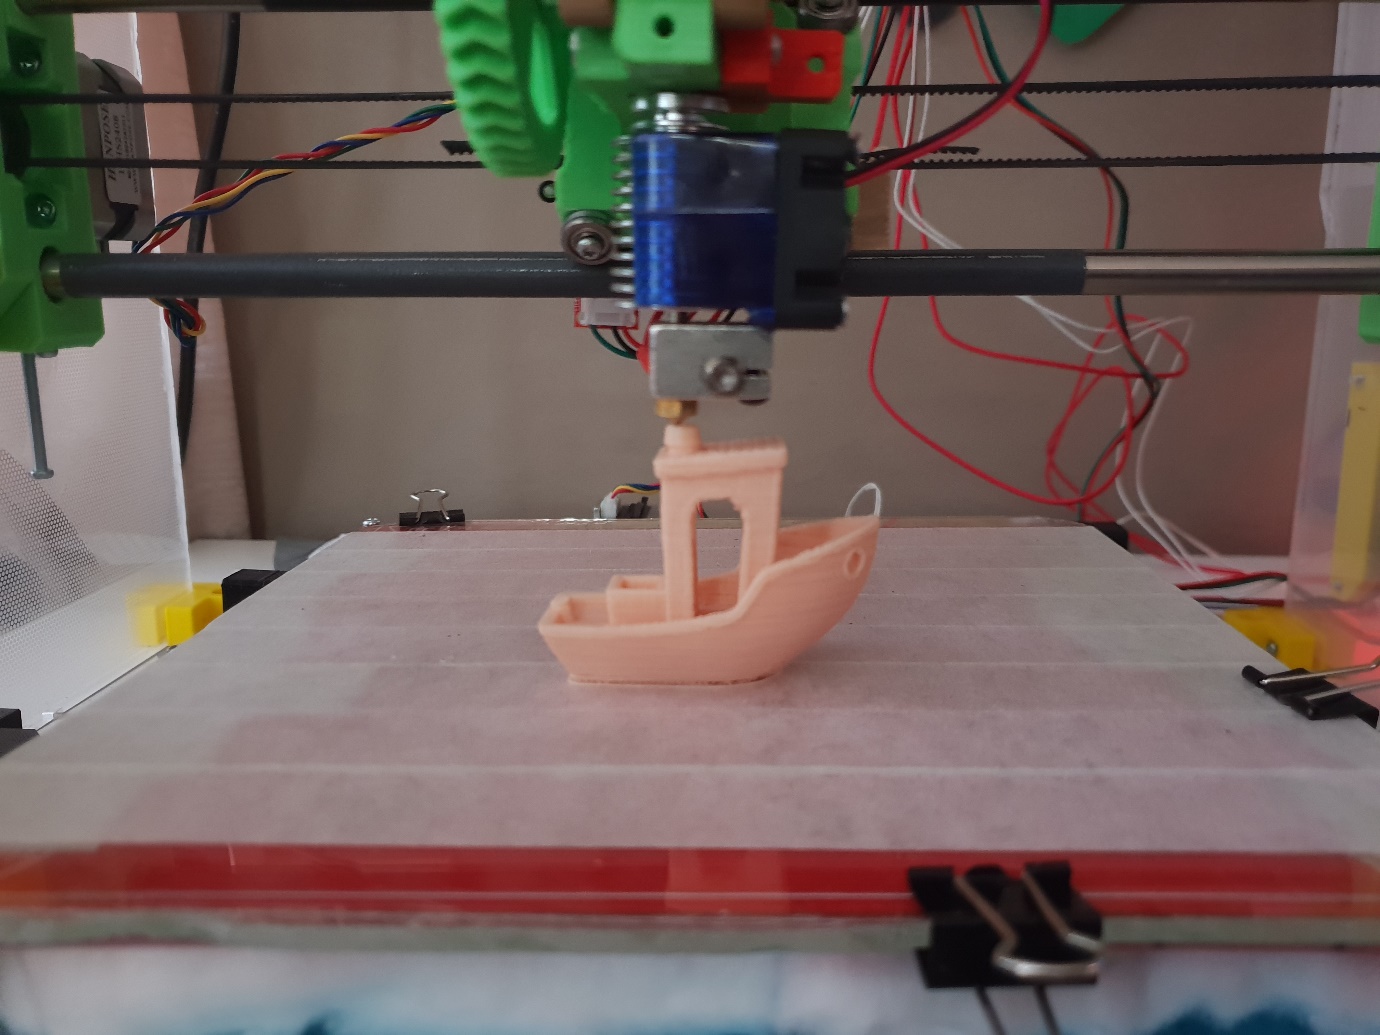
Already having provided essential help, the members of Ballarat Hackerspace came to my aid again and helped to guide me through the process of setting up the printer, configuring Marlin to run the printer and helping to iron out some of the other kinks. My first print was the well-known calibration cube, and it actually showed promise... if I'm blunt I would say I was optimistic about my results but not seriously expecting a decent result for some time. Other than a reversed letter my first proper print actually worked.
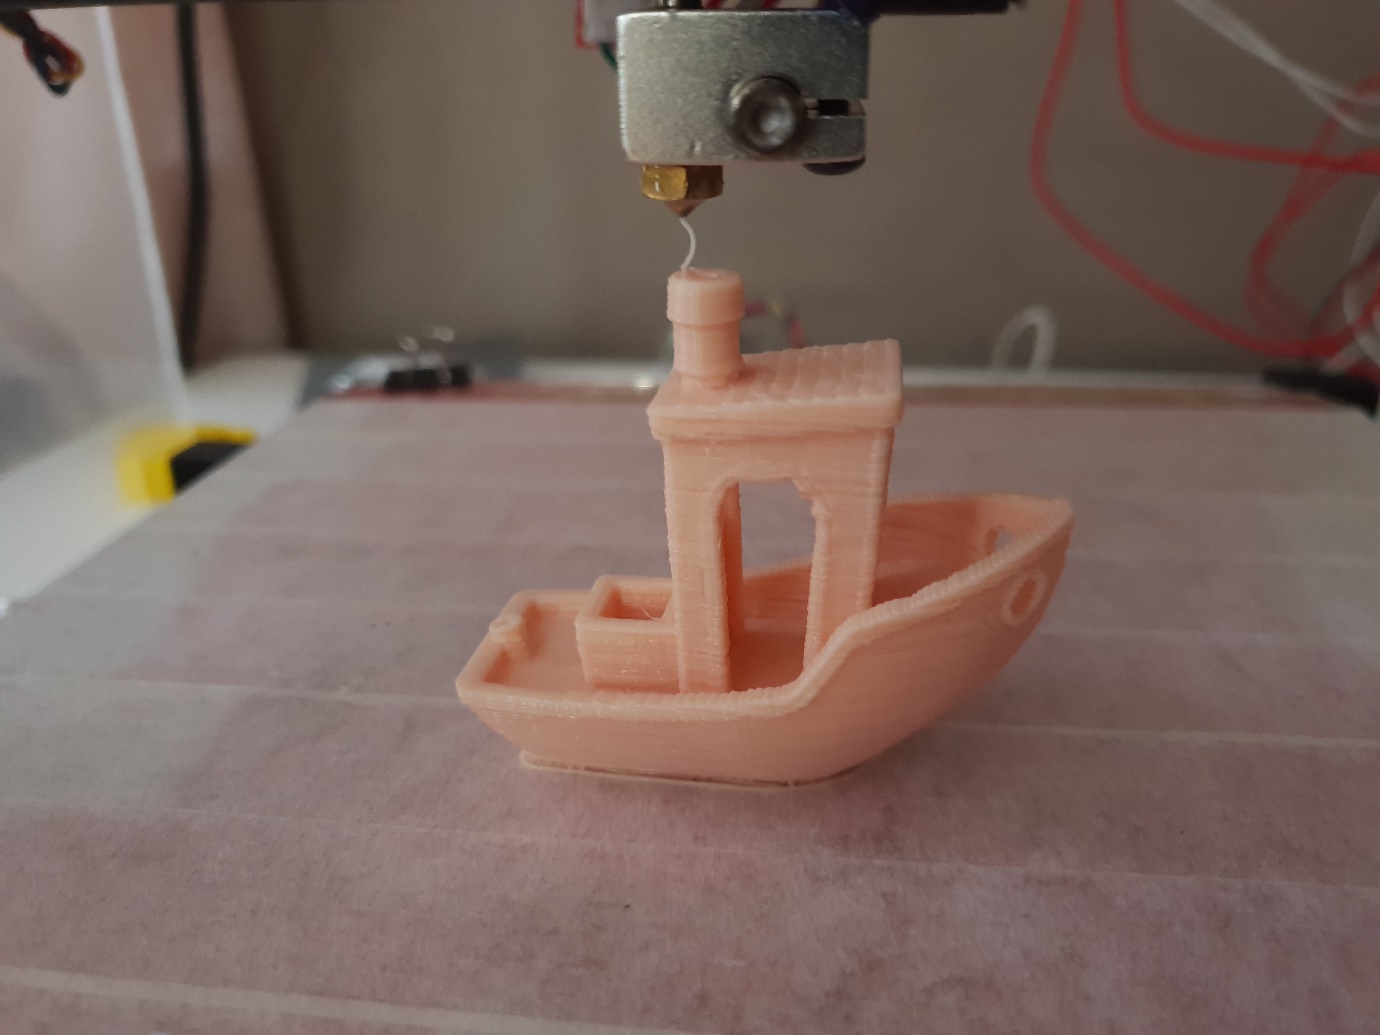
With this encouragement, I had to go on and try the famous Benchy and low and behold it printed very satisfactorily. There was a little waviness to the prints... but nothing major and after printing a couple of characters for my children that they were very happy with, I realised that yes, in fact, I could make my own 3D printer... but not without the help of the Ballarat Hackerspace!
Since those first prints, I have been working to refine the printer and have returned to the hackerspace to print some enhancements (and get help when I thought I'd destroyed one of my controller boards... turned out I just had questionable wiring connection for my power). I've now installed octoprint on a Raspberry Pi Zero W (thanks to suggestions and advice from Hackerspace members) and can now print wirelessly.
Once I've got my printer honed in a bit more... the next (arguably optimistic and challenging) project is to print a full-scale R2D2 and add lights and sound... but as with all big projects I'll have to tackle that project one step at a time, and I've no doubt I will be picking the brains of the Hackerspace team a lot for that one!
My Thingiverse "made" link with some additional details on Bitsabot: https://www.thingiverse.com/make:543594